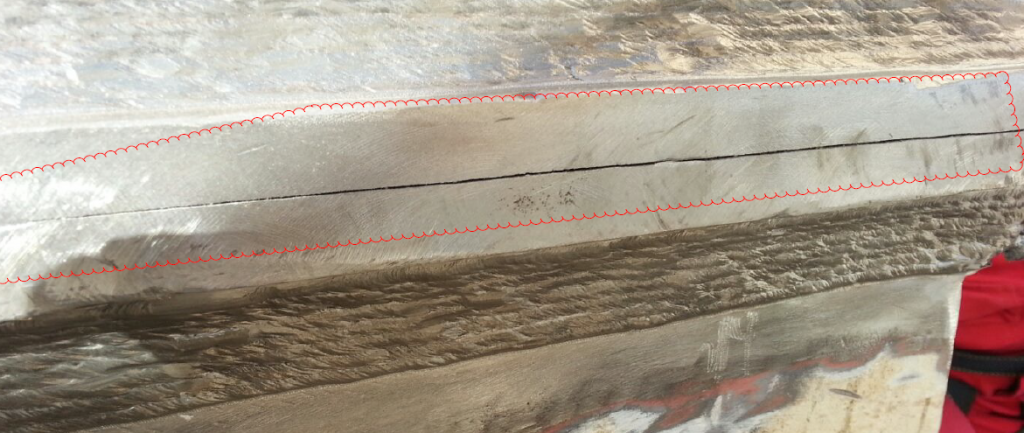
Welcome to the world of Ultrasonic Testing (UT), a Non-Destructive Testing (NDT) method that delves into the inner secrets of materials using high-frequency sound waves. Imagine you’re holding a powerful flashlight, but instead of shining light, it’s sending out sound waves that reveal hidden flaws. Ultrasonic Testing is an incredibly versatile technique, capable of detecting surface and subsurface flaws in a range of materials. Here’s everything you need to get started with UT.
What is Ultrasonic Testing?
Ultrasonic Testing uses sound waves at frequencies above the range of human hearing to inspect materials. By sending these sound waves through a material and measuring how they reflect back, UT can reveal cracks, voids, and other hidden defects. Think of it as using sonar to explore a hidden world beneath the surface—only in this case, we’re dealing with metals, plastics, and composites instead of ocean depths.
How Ultrasonic Testing Works

Here’s a quick look at the steps involved in UT:
- Setting Up the Equipment: The essential tool in UT is the transducer, which converts electrical energy into sound waves. You’ll connect the transducer to an ultrasonic testing machine that displays the signals
- Applying a Couplant: Air is a terrible medium for sound waves, so you’ll need a couplant—usually a gel, oil, or water—to facilitate sound transfer from the transducer to the test material. The couplant acts as a bridge, ensuring the sound waves enter the material effectively.
- Sending the Sound Waves: The transducer emits high-frequency sound waves into the material. These waves travel through the material and bounce back when they hit a boundary or discontinuity, like a crack or void.
- Interpreting the Reflections: By analysing the reflected waves, the UT machine can reveal the location, size, and shape of internal flaws. This is typically displayed as an A-scan, where peaks indicate the strength of reflected signals.
- Calibrating for Accuracy: Calibration is crucial to ensure your measurements are accurate. You’ll use known reference standards, like blocks with pre-made flaws, to calibrate your equipment.
Types of Sound Waves in UT
Understanding the types of sound waves helps to choose the best wave for each inspection:
- Longitudinal Waves: These waves move in the same direction as the particles travel, like a spring being pushed and pulled. They’re excellent for thickness inspections and they can travel through solids, liquids, and gases.
- Shear Waves: In these waves, particles move perpendicular to the direction of the wave. Shear waves are great for detecting flaws within solids, but they can’t travel through liquids or gases.
- Surface Waves (Rayleigh Waves): These waves travel along the surface of a material and are sensitive to surface defects. They’re particularly useful for detecting cracks and corrosion at or near the surface.
Key Concepts in UT: Understanding Acoustic Properties

- Frequency and Wavelength: The frequency of sound waves in UT is typically in the range of 1 to 20 MHz. Higher frequencies offer better resolution but shallower penetration, while lower frequencies penetrate deeper but with less detail.
- Attenuation: As sound waves travel through a material, they lose energy. This phenomenon is called attenuation, and it affects how deep you can inspect.
- Acoustic Impedance: This measures how much a material resists the passage of sound waves. It’s essential for understanding reflections; sound waves reflect more at boundaries with significant impedance differences.
Practical Applications of Ultrasonic Testing
Ultrasonic Testing is popular for inspecting welds, pipelines, and structural components in industries like aerospace, automotive, and construction. It’s perfect for:
- Detecting Internal Flaws: Unlike surface inspection methods, UT can detect flaws deep within a material, making it invaluable for safety-critical parts.
- Measuring Thickness: UT is widely used to measure the thickness of materials, especially when you can’t access both sides of the object. This is essential for corrosion monitoring in pipelines and tanks.
- Weld Inspection: By using angle beam transducers, you can inspect welds for lack of fusion, cracks, and other discontinuities, even in complex geometries.
Get in contact with us today to explore more learning options and courses: Contact us